Tuesday, January 30, 2018

My Hawaii Trip Day 1: Arrival, Free and Easy

Our flight scheduled to depart sharp at 2pm and the whole journey going to take us a total of 16 hours and 30 minutes to reach Honolulu Airport. In between, we stopped at Kansai Airport for 2 hours transit. Unlike our usual trip, we actually gained the lost hour as we are flying the globe backward. The time we landed at Honolulu Airport it is still on Saturday, 21st of October 11.50am. To my surprise, we landed at the airport 40 minutes earlier than expected.

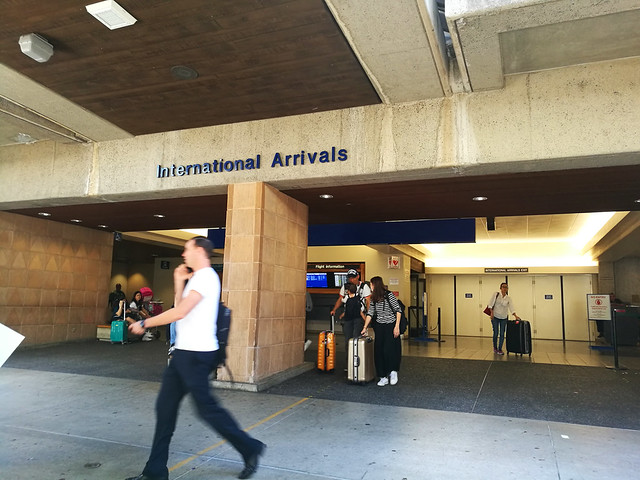
There is nothing fancy in the airport, we are pretty lucky to collect our baggage immediately after the immigration gate. So we proceed to the International Arrival Exit and look for our pre-book Shuttle Van. As instructed, you will find the staff with Polynesian red natural fern aloha attire waiting for you outside. We report for our arrival, check the name list, and then he will ask you to stand aside next to the pillar and notify us when they are ready. What the heck! We waited for more than 30 minutes just because they are still awaiting for other passenger to arrive. All the extra time that we gained so far is now lost in vain because of this bloody hell reason.

International Arrival

For the Shuttle Van, you can either book from Ohana website or directly from SpeediShuttle website. It doesn't matter because the price is the same. Alternatively, you can reach the Hotel by Bus No. 19 or No. 20 (EastBound). Bus is good for those who are on tight budget as 1 trip only cost you 2.5USD per pax. Please take note, there is a baggage size restriction (22″x14″x9″) for those who wish to ride the Bus.

As I mentioned before, tipping is a culture in US as long as you are using their services. Yes it is unpleasant but you just have to pay for it. But some services can be avoided if it is unnecessary.

Travel time from Airport to Ohana Waikiki East Hotel is just approximately 1 hour. Upon arrival, you will be greeted by Ohana friendly staff. My piece of advise, quickly get out from the shuttle and handle your own baggage. This will save you few bucks.
Check In time is 3pm and we are requested to return back to Hotel anytime after 3pm. They have storage room to keep our luggage secure.

Day 1 is pretty much free and easy mode where most of the time just strolling around Waikiki main street and of course searching for our lunch. It is around 2pm when we finally settle down.

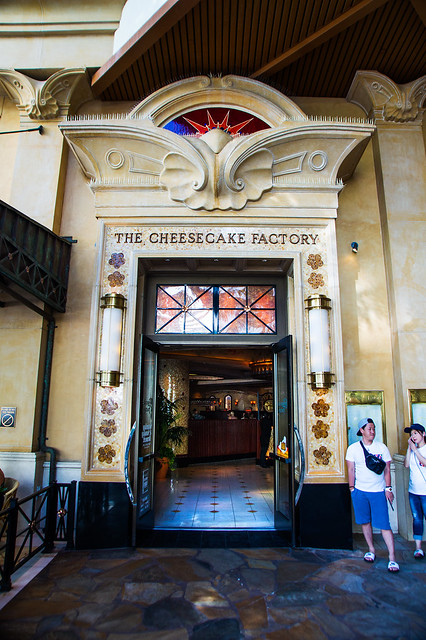
Our first destination is to Cheesecake Factory for lunch.
Cheesecake Factory

Cheesecake Factory

Here is what we ordered:
Grilled Pork Chop
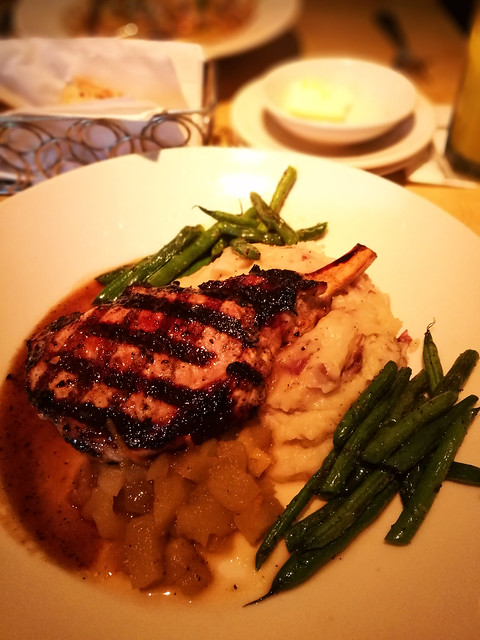
Grilled Pork Chop. Just long bean. Not asparagus :)

Da Vincci Pasta
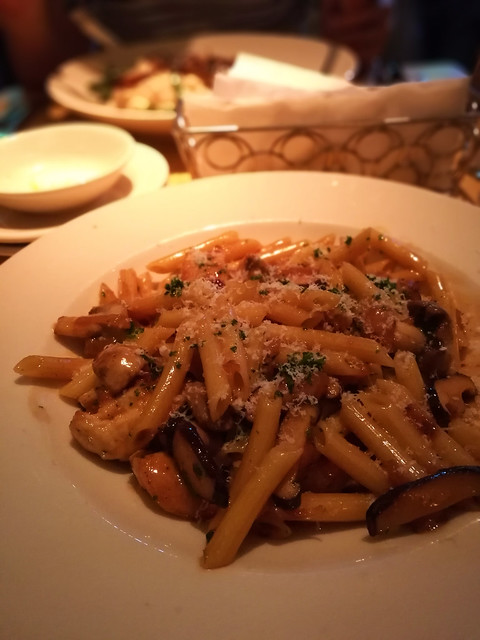
Da Vincci Pasta. Strongly recommended! We never had such a delicious pasta before. The flavor is totally new to us.

Original Cheesecake
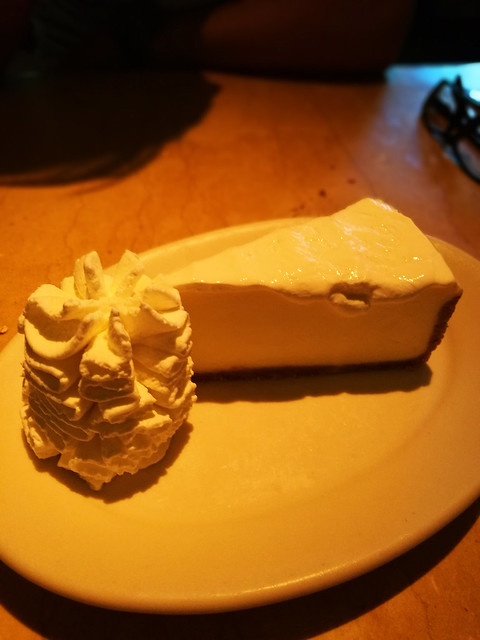
Original Cheesecake. How can we miss the main item :)

We have been warned that the meal size in US is ridiculously huge yet we ended up ordered 2 main course and one dessert. We regretted for ignoring the warning and that's make us both ultra full.
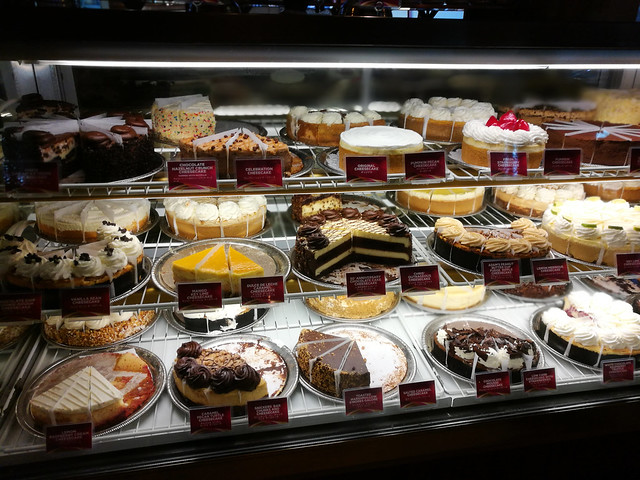
Varieties of Cheesecake
Too many varieties.

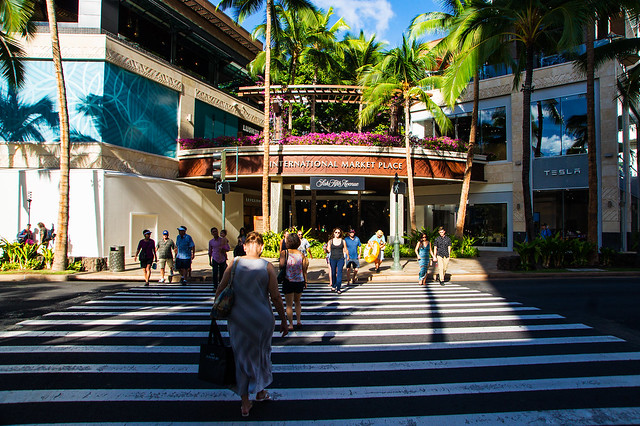
International Market Place is just opposite the street.
International Market Place

We then headed straight up and take a left turn to Royal Hawaiian Hotel. Next to it is Sheraton Hotel.
Royal Hawaiian Hotel

They have a private event tonight.

Pacific Ocean
Breathtaking view. The vast pacific ocean.

Over here you can take a good shot of Diamond Head from Waikiki Beach.
Waikiki Beach
Waikiki Beach
Diamond Head
Multi-million dollar view.

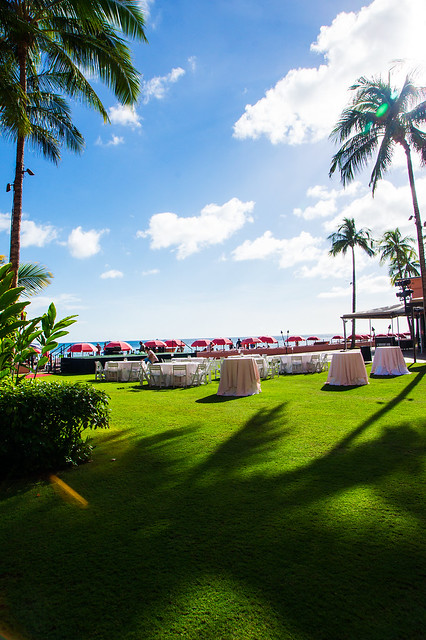
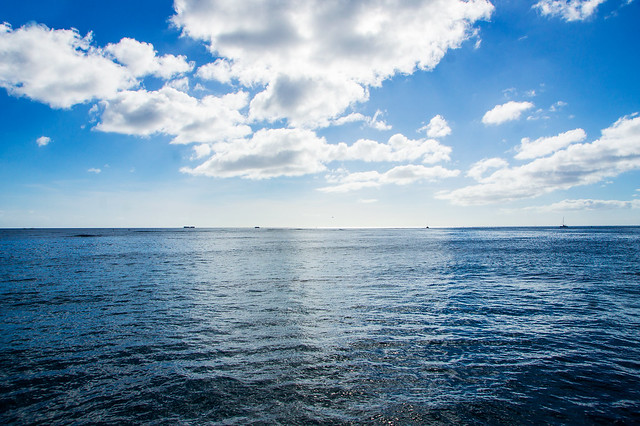
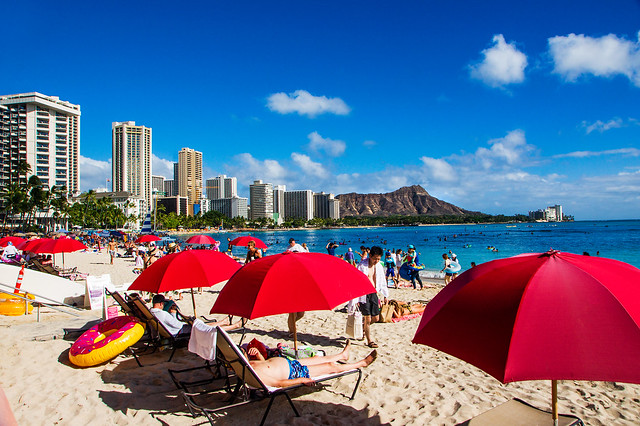
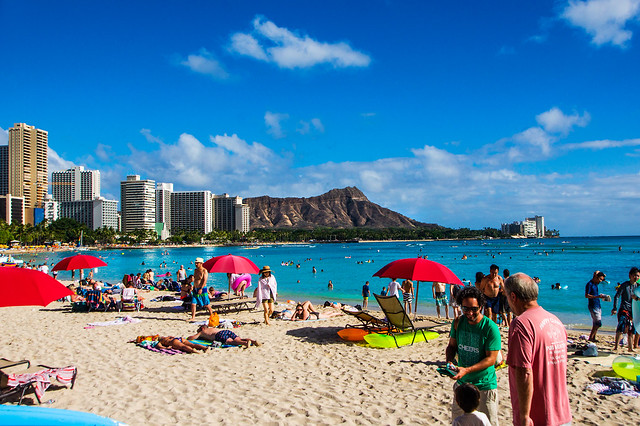
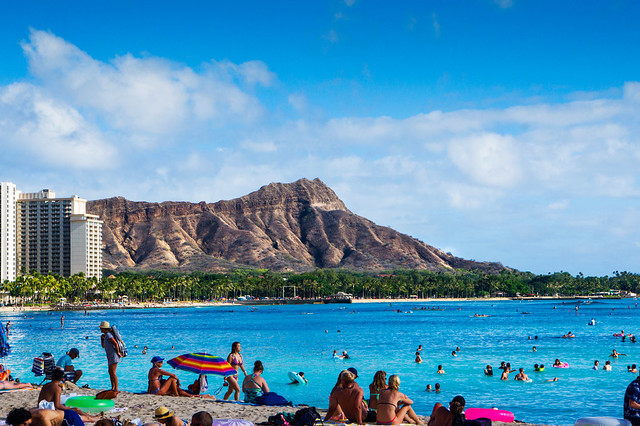
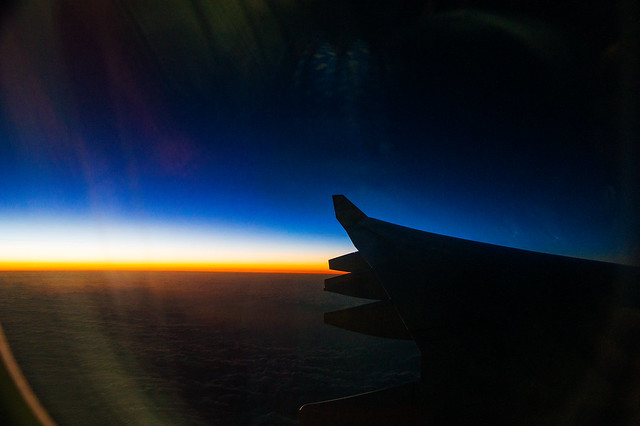
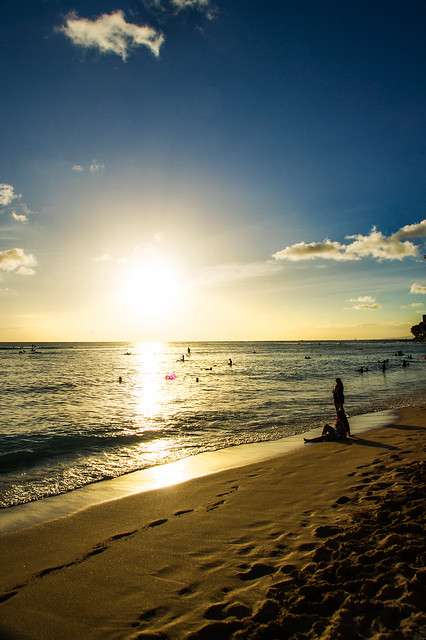
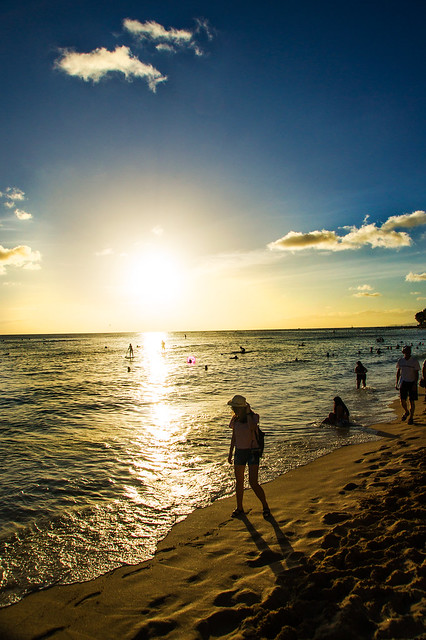
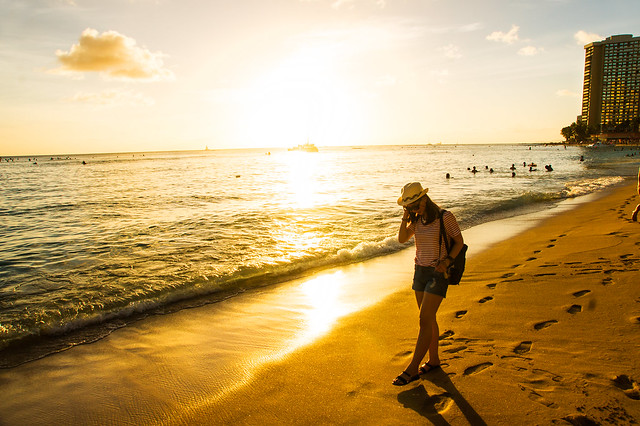
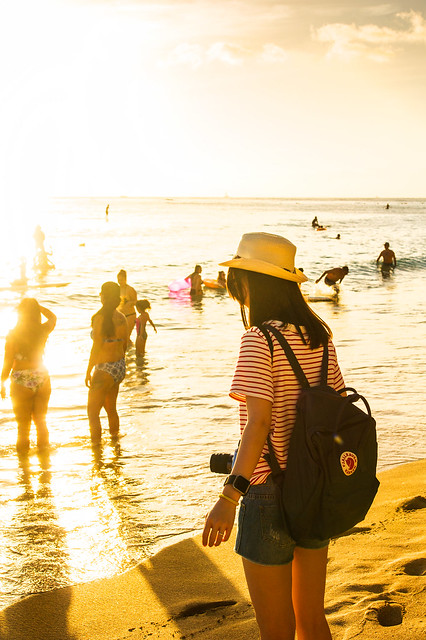
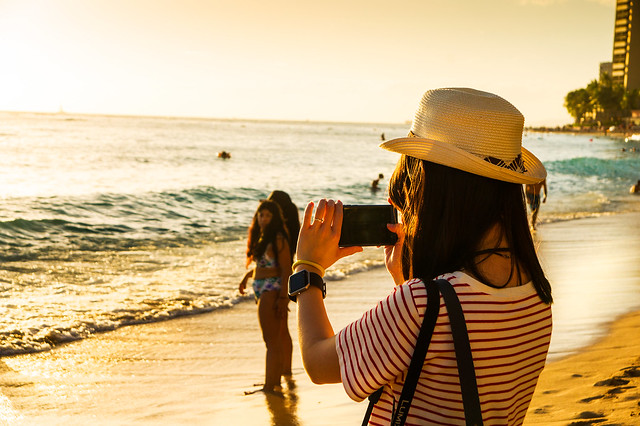
The weather is damn hot and hence we decided to check in and take some rest. Just around 5pm we went out again to Waikiki Beach for golden sunset.

Waikiki Beach Sunset

Waikiki Beach Sunset
Golden Moment
Waikiki Beach Sunset
Duke Statue

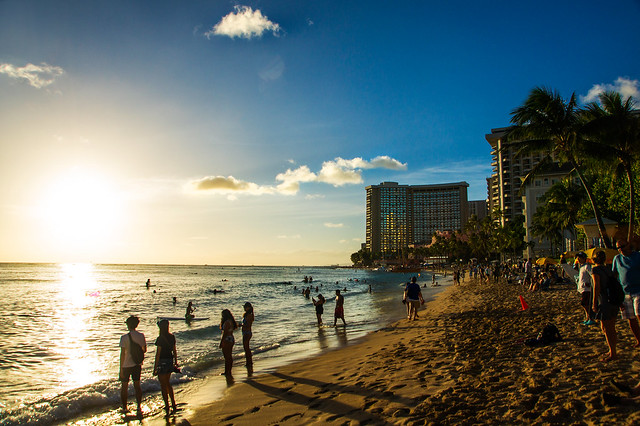
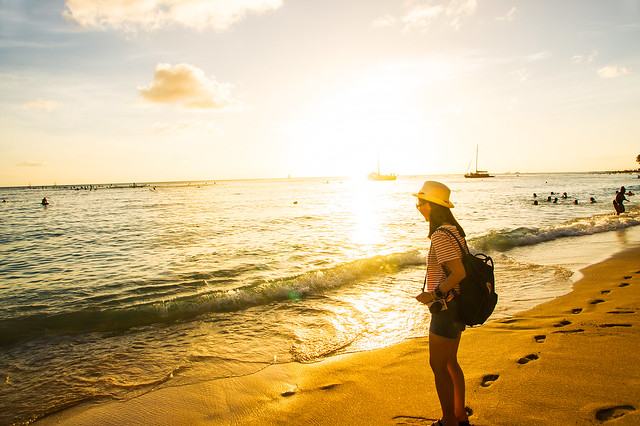
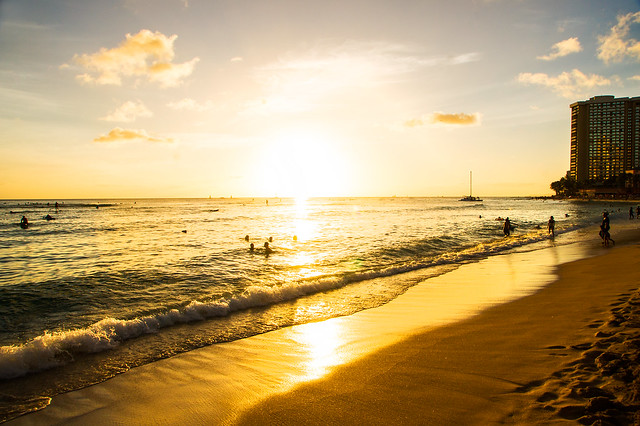
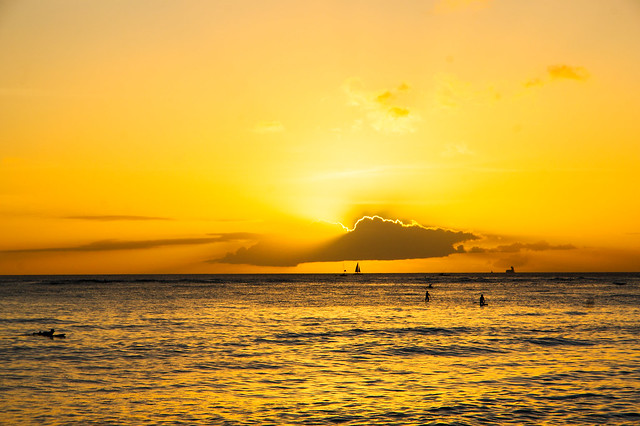
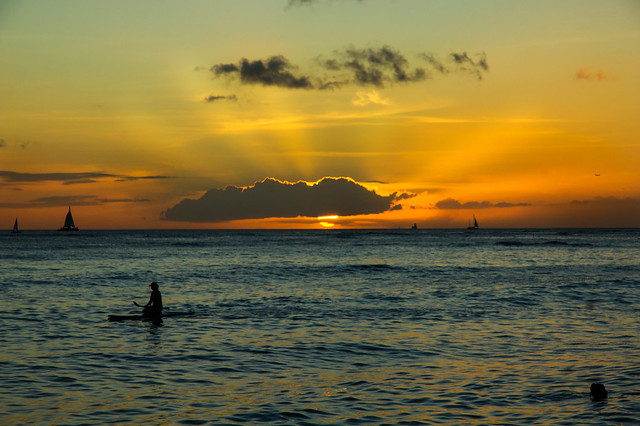
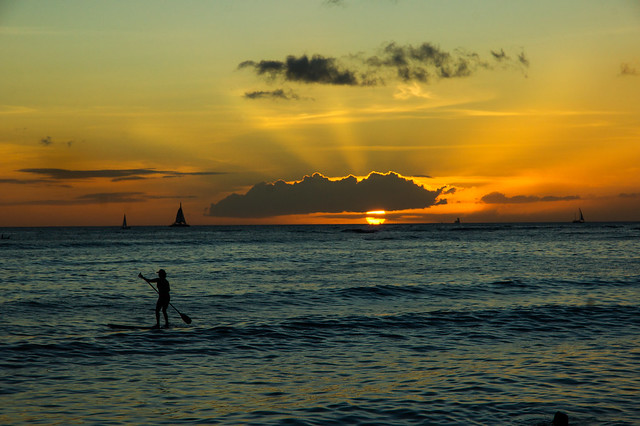
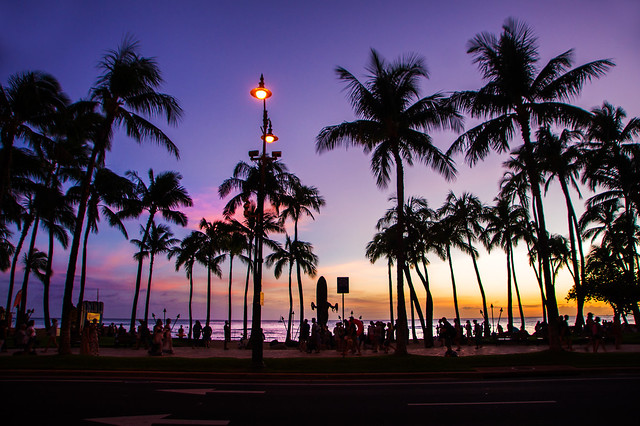
Exactly at 7pm the sun vanish from your very eye and is time for Dinner. Initially plan for Duke's Canoe Club Waikiki but the queue was super long. 


On the spot change of plan and went to Hula Grill instead which is just one stair above. Waiting time is shorter but still took us 45min waiting time.
Hula Grill Waikiki
Grilled & Pan Seared Ahi with Rice
Dinner selection for the night. Grilled and Pan Seared Ahi with Rice

Pineapple Coconut Creme Brulee

That's overall sum up our first day in Oahu, Hawaii. There's nothing much worth mentioning but we managed to catch such an amazing sunset. Life is so great.

That all for day 1. We have to sleep early as we are going for a ride for Day 2!


Click here to check out the breakdown summary of our spending in Hawaii.
Click here to check out Day 2 Itinerary.
Click here to check out Day 3 Itinerary.

Sunday, January 28, 2018

My Hawaii Trip Summarization

Its been a decade since I last wrote review about travel. Today I am going to re-start the travel blog again and hopefully it can bring benefit to those who are in the midst of planning for their honeymoon or family trip.

Last year February 2017, Airasia says "Aloha" to Hawaii and we says "Mahalo" to Airasia!!!
Whenever Airasia launching a new route, it is a MUST to monitor and check the fare because you might be getting a very dirt cheap return ticket and yes, we did!

In this post, I am going to share the breakdown of expenses we spent in Hawaii.

Flight details:
Airline: Airasia
Kuala Lumpur Sat 21-Oct-2017 02:00pm
Honolulu Wed 25-Oct-2017 04:00pm

Overall 5 days 4 nights trip

Flight Ticket Return Trip All-in: RM2605.00 for 2 pax
Accommodation (4 nights): 582.48USD
Car Rental (1 day): 91.31USD
Petrol: approximately 30USD
Shuttle Transport to/from Hotel: 16USD/pax
Shuttle Transport to/from Waikele Outlet: 16USD/pax
Byodo-In Entrance Fee: 5USD/pax
Hanauma Bay Entrance Fee: 7.50USD/pax
Hanauma Bay Parking Fee: 1USD
TheBus Day Pass: 5USD/pax

For other expenses such as meal, outlet shopping spree, souvenir and etc are subjective to individual needs and hence you have to do some estimation yourself. Additionally, do not forget about tipping. In US, tipping is a MUST and it is an extra expenses that you need to fork out from the final bill.

To breakdown further, below is the invoice summary from the hotel that we stayed during our trip to Hawaii.

Hotel Accommodation:

Ohana Waikiki East by Outrigger is the hotel that we selected. During that time, there was a promotion "Gift For You" that saved us at least 100USD provided if you are staying more than 3 nights. So be sure to explore their website once in a while to catch some price worthy promotion.

In US, almost every hotel will have taxes such as General Excise Tax and Accommodations Tax that charged to your room fees. For Ohana, there is one extra taxes called Waikiki Connection Fee that includes the following:

  1. 1. Unlimited rides on the Waikiki Trolley Pink Line through Waikiki and to Ala Moana Shopping Center.
  2. 2. High speed, multi device Wi-Fi access in the hotel lobbies and guest rooms
  3. 3. Local and long distance phone calls to the U.S. and Canada (first 15 minutes)
  4. 4. In-room coffee and tea daily
  5. 5. Use of in-room safe
  6. 6. Local weekday newspaper
  7. 7. Shopping and dining discount coupon book
  8. 8. Fitness room access
  9. 9. Pool / beach towel use per person as required
  10. 10. One OHANA Hotels souvenir nylon drawstring beach bag per room
Car Rental:
Company: Hertz
Vehicle: Chevrolet Sonic
To travel around Hawaii, you definitely required a transportation to view all the scenic spot in Oahu and due to this reason we decided to go ahead and book for a car for convenient purposes. There is no railway system in Hawaii. However they have a massive Bus network that runs throughout Oahu which are quite reliable.

That's all I have to say for now. Next, I will be sharing my itinerary per day and I hope you find it useful. Thanks for reading. Aloha!

Onboard

Details Itinerary:
My Hawaii Trip Day 1: Arrival, Free and Easy
My Hawaii Trip Day 2: Oahu Scenic Drive
My Hawaii Trip Day 3: Shopping Spree

Jinbao Oversized KO Warbotron Bruticus!

Finally it's showdown time! Combaticon, get ready to merge into Bruticus.

Bruticus Transforms 1
Onslaught trailer, transforms to bottom torso!

Bruticus Transforms 3
Merge with Brawl and Swindler

Bruticus Transforms 2
Next Onslaught, merged!

Bruticus Transforms 4
Finally, Vortex and Blast Off! Combine to complete Bruticus

Bruticus Transforms 5
Bruticus is ready to combat and kill Autobots!

I have to say, this complete Bruticus is really mind captivating. When the first time I saw this figure display in the shop rack, I have already decided to take him home but the price was really crazy back then when Warbotron released this version of Bruticus to the market. My wallet keep rejecting me because of the price, not until Jinbao copy the blueprint and release exactly the same design from Warbotron, additionally with extra larger scale (some says 120% larger) with dirt cheap price. I was like OMG, this is seriously kill it and I just order and take it home.

Bruticus 8
In term of plastic material it is of course not as good as Warbotron. However 1 thing that Jinbao take into consideration is about the weight of this combiner. It is damn heavy. This is why they have to make sure every rachets and pin are tighten extremely strong in order for the figure to withstand the weight. Nonetheless with the effort, it is still extremely hard to pose Bruticus because of its weight. Any imbalance to the position, it will end up fall apart and came out ugly.

Bruticus 3
Bruticus with War Cannon.

Bruticus 6
Close up. Yeah, no decepticon logo on the chest due to licensing infringement.

Bruticus 5
Heads up. Bruticus will catch you no matter on ground battle or air battle.

Bruticus 4
Engage in battle rage.

Bruticus VS Prime
Size comparison with Optimus Prime.

To my opinion, this is the most perfect Bruticus that I've ever seen. It feel just so great to be able to see him in the display rack.  Jinbao is really doing a good job this time. Kudos to Jinbao.

Bruticus 2
Bruticus 1
Bruticus VS Prime 2
Bruticus VS Prime 1

Sunday, January 21, 2018

Jinbao Oversized KO Warbotron Onslaught

Onslaught, the tactician or so called the combat master is the leader for the Combaticon. Being a leader, he is pretty much heavy loaded with massive cannon and missiles that ready to die for the victory.

Onslaught Pose 3

His posture is incredibly stable and also the heaviest among those crew. Having said that, he can pose pretty lots of cool stance.

Onslaught Pose 4
He can also lift up heavy cannon without any issue. He got a strong grip.

Onslaught Pose 5
Onslaught Pose 6

Speaking about weapons, of course he will be taking care of Bruticus's gun but in shrinked version.
Onslaught Pose 1
Onslaught Pose 2

He is very much like Optimus Prime, both a giant truck with huge trailer.
Onslaught with Prime
Side by side comparison with Masterpiece MP-09 Optimus Prime
Onslaught is just slightly larger and bulkier even with his oversized body.

In his vehicle mode without Trailer
Onslaught Vehicle Mode 1
Onslaught Vehicle Mode 4
Onslaught Vehicle Mode 2
Onslaught Vehicle Mode 3
Onslaught Vehicle Mode 5

In his vehicle mode with Trailer.
Onslaught Vehicle Mode with Trailer 1
Onslaught Vehicle Mode with Trailer 2
Onslaught Vehicle Mode with Trailer 3

All the accessories from Bruticus can be attached together with the trailer. There is be nothing left over unscattered
Onslaught Vehicle Mode with Trailer 4

Just in the right size to fit all his crew members.

In overall, there is no error in this product despite being a copycat company. However, if you are looking for a good quality of material, this is not the one for you. But if you are looking for a cheap and affordable Bruticus, this is exactly the one for you. There are a lots of Bruticus third party design out there in the market now but to my opinion, this design if the most coolest and the most superior  Bruticus I've ever seen. Next I will be writing the long anticipating Bruticus! Thanks for reading.